Searching and Downloading OpenStreetMap Data (QGIS3)
Getting high quality data is essential for any GIS task. One great resource for free and openly licensed data is OpenStreetMap(OSM) . The OSM database consists of all types of mapping data - streets, local data, building polygons, administrative boundaries etc. Getting access to OSM data in a GIS format in QGIS is possible via the QuickOSM* plugin. This tutorial explains the process for searching, downloading and using this plugin.
Overview of the task
We will extract locations of all bars and pubs in London from the OpenStreetMap database and save it as a vector layer.
Other skills you will learn
- How to Merge multiple vector layers.
Procedure
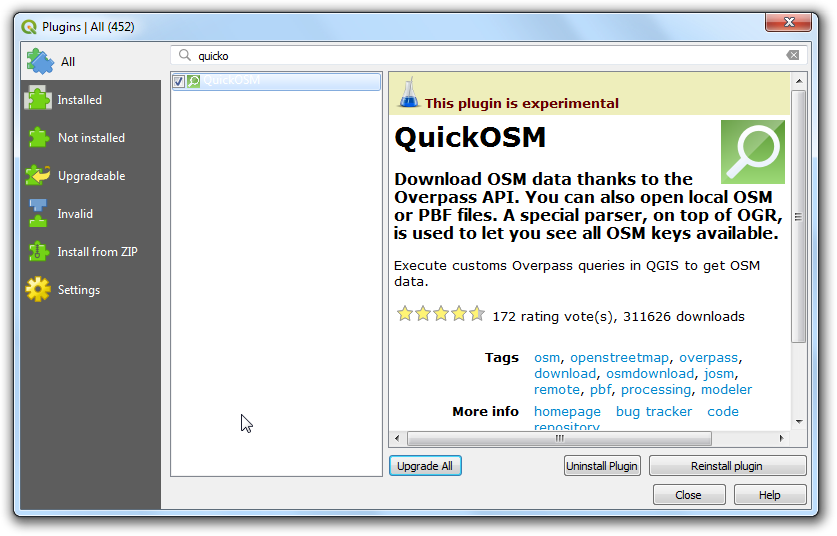
- Search and install the QuickOSM plugin from the QGIS Official Plugin Repository. See Using Plugins for instructions on downloading plugins. Note that at the time of writing this tutorial, this plugin is marked as Experimental, so make sure you check
Show also experimental plugins in the Settings tab in the Plugins dialog to be able to install it.
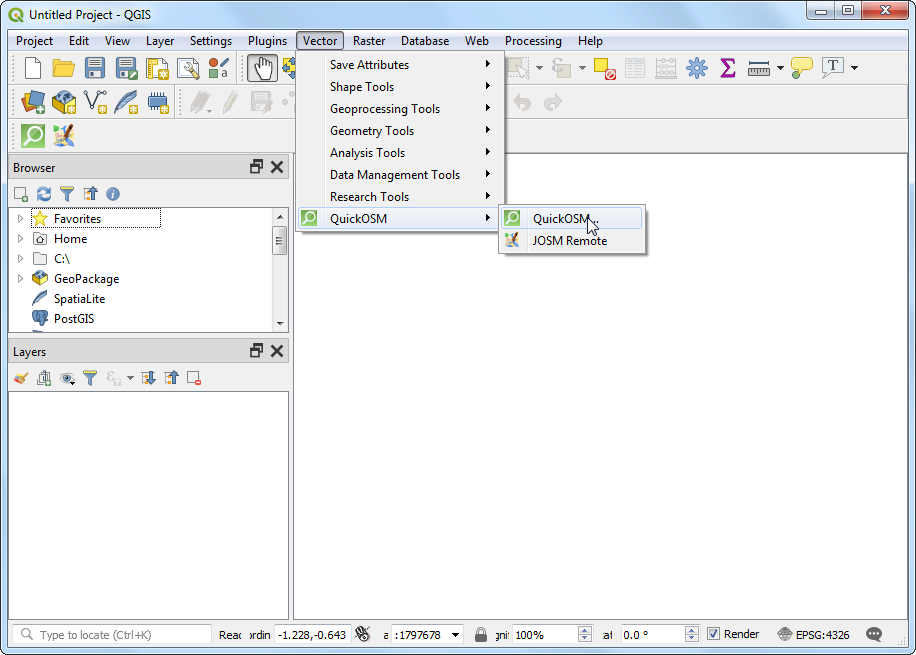
- Once installed, launch the plugin from .
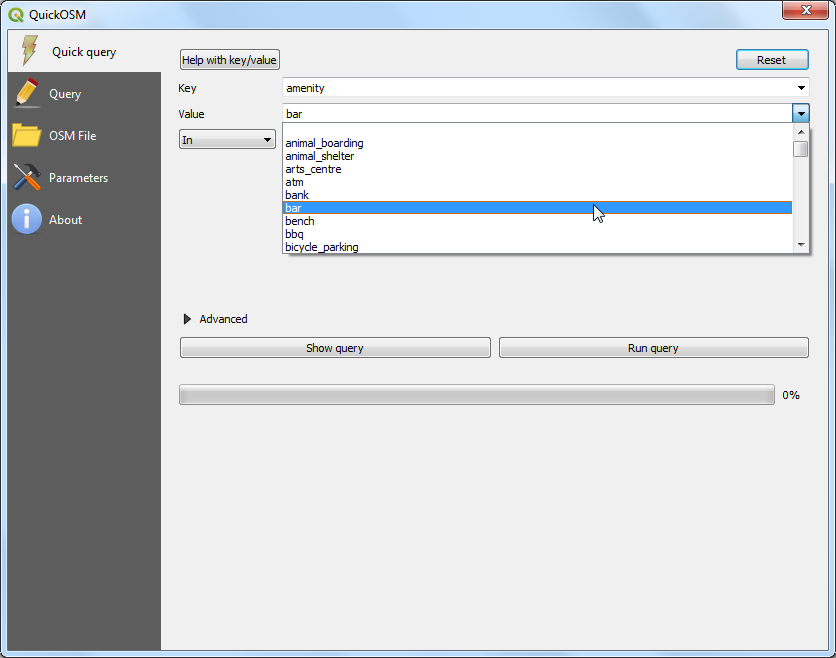
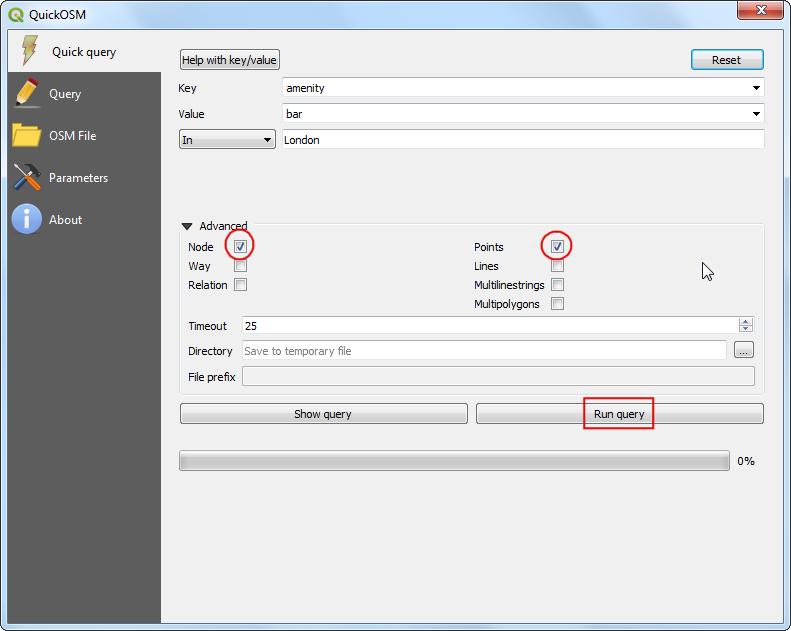
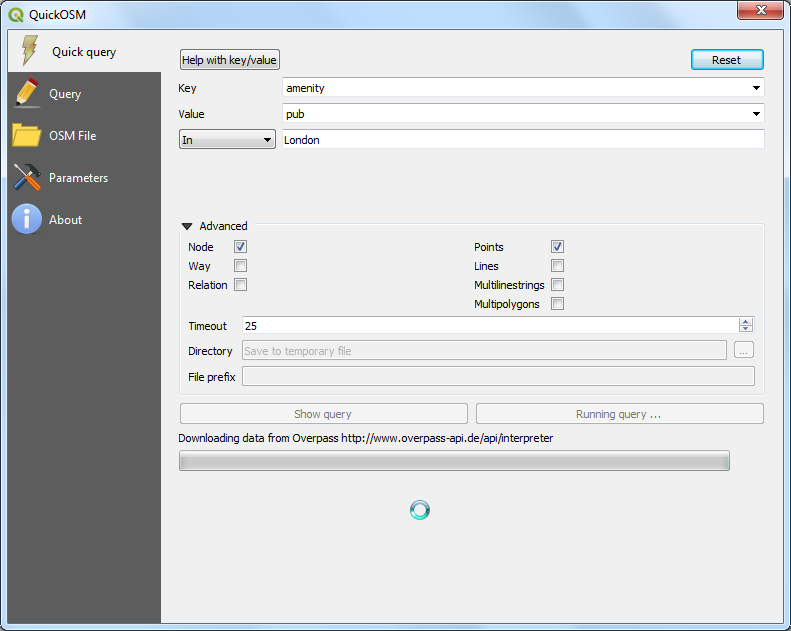
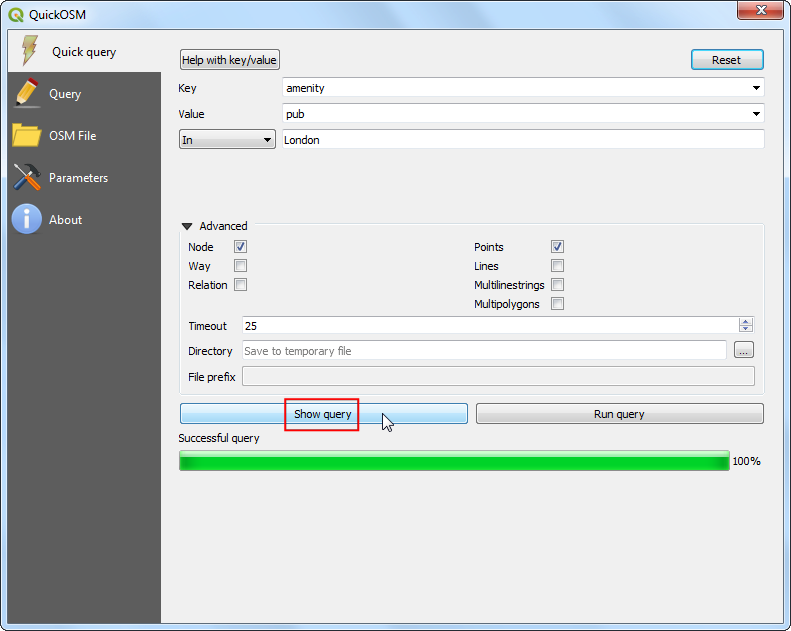
- In the Quick query tab, you can set a filter to select a subset. The attributes of the map features in the OSM database are stored as Tags. Tags are represented with a key and a value. The key is a topic and a value is a specific form. See this page for a comprehensive list of tags for various types of features. Bars are represented using the tag
amenity:bar and pubs with the tag amenity:pub. We will first extract the bars. Select amenity as the Key from the drop-down menu.
- Select
bar from the Value drop-down menu.
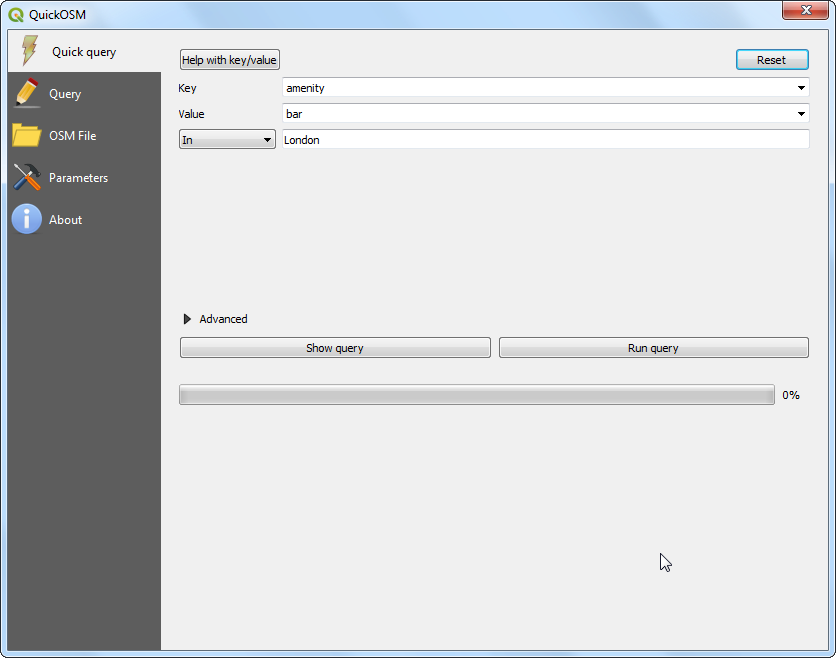
- Enter
London as the In to restrict the search within the city boundary.
- Expand the Advanced section. In the OSM data model, features are represented using nodes, ways and relations. As we are interested in the point features, you can select only
Node and Points . Click Run query.
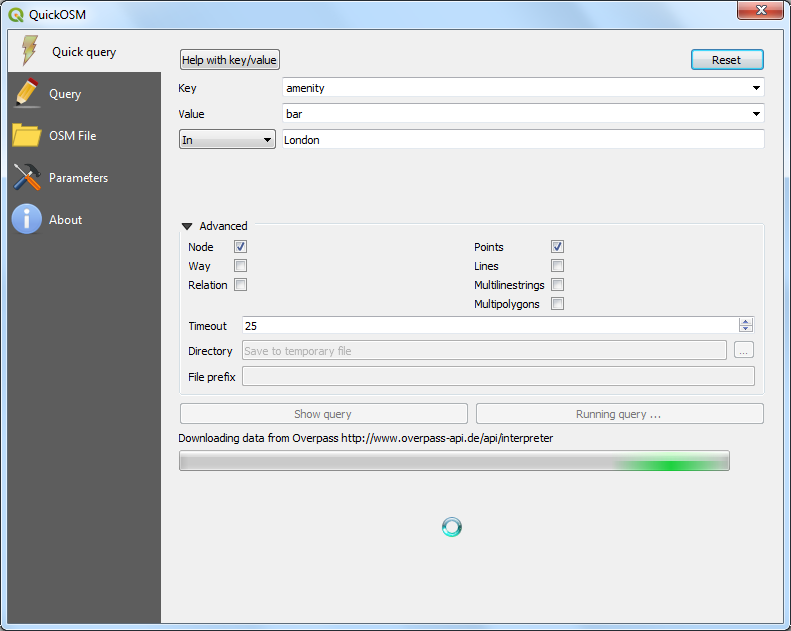
- The plugin with query the OpenStreetMap database using the Overpass API and convert the data into a QGIS vector layer.
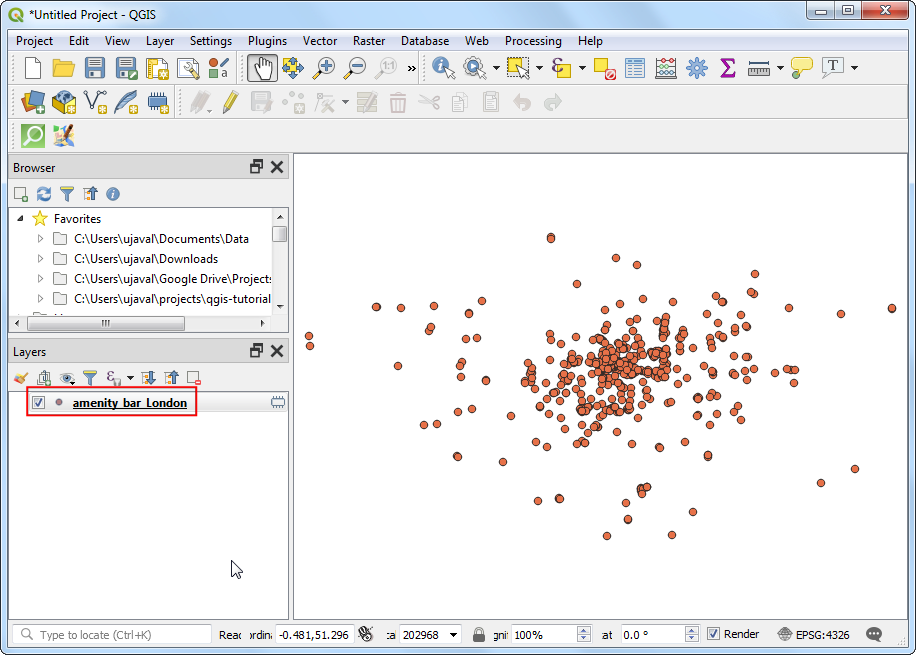
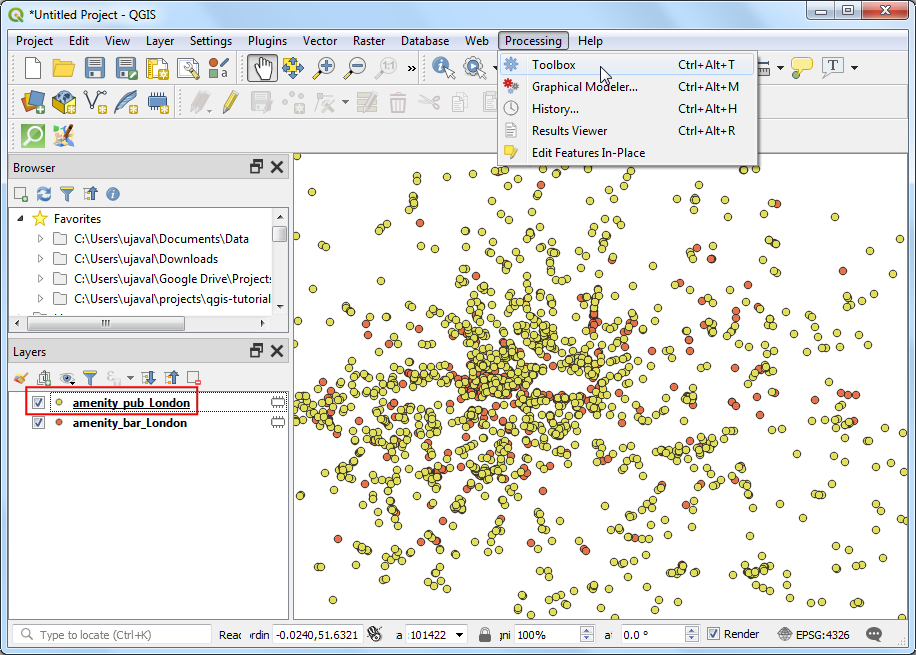
- Once the query finishes, switch to the main QGIS window. You will see a new layer called
amenity_bar_london added to the Layers panel. The canvas will show the locations of the bars that were extracted.
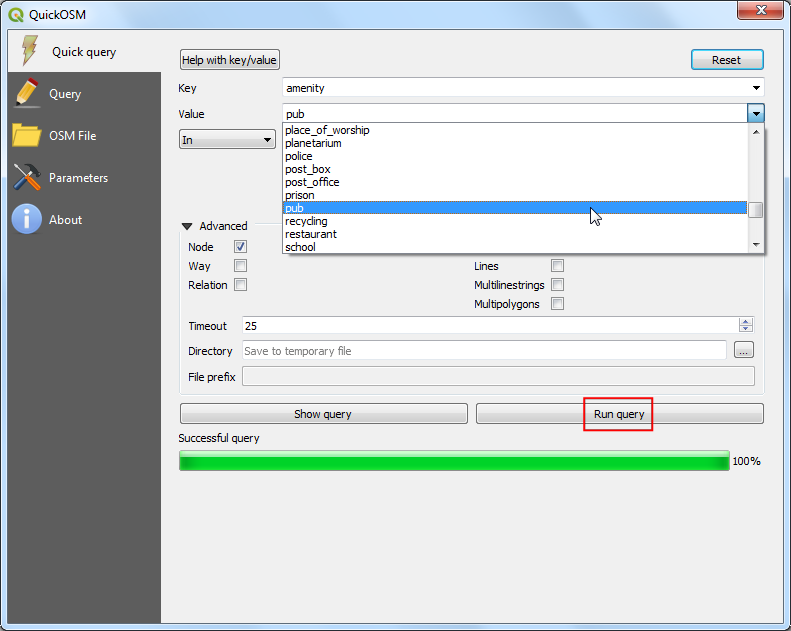
- Switch back to the QuickOSM window, and edit the query to select
pub as the Value. Click Run query.
- This time the plugin will fetch all the points tagged with
amenity:pub from the OSM database.
- Once the query is complete, a new layer
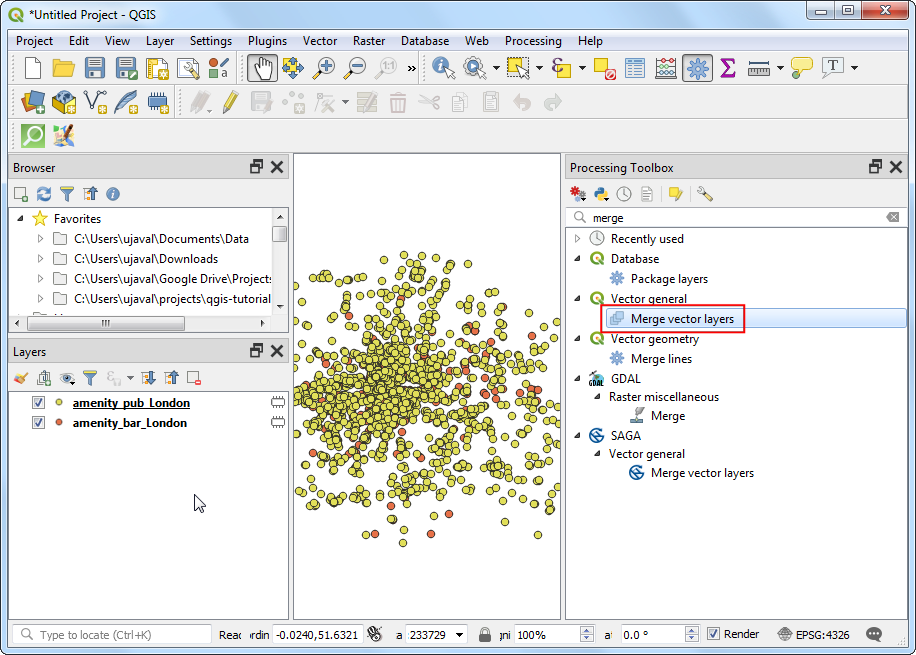
amenity_pub_london will be added to the Layers panel. We now have 2 vector layers. These are temporary memory layers that will get lost after we exit QGIS. Let’s merge these to a single vector layer and save it to the disk. Go to .
- Search and locate the tool. Double-click to launch it.
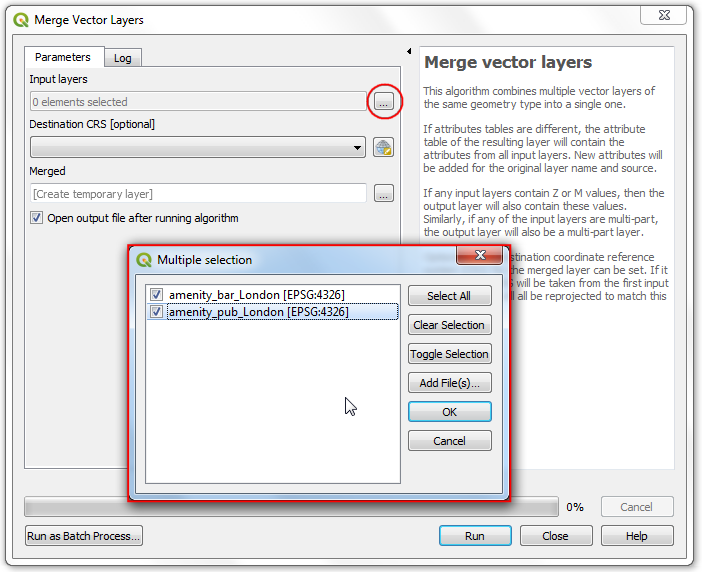
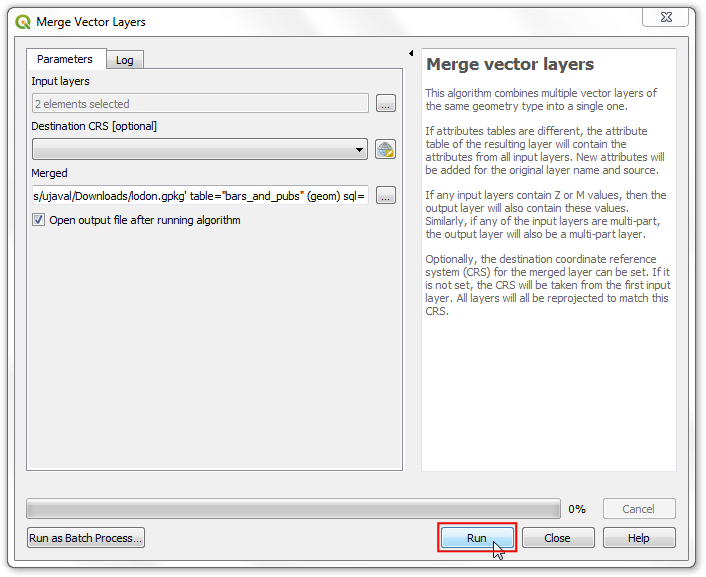
- In the Merge Vector Layers dialog, click the ... button next to Input layers. Select both the
amenity_bar_london and amenity_pub_london layers. Click OK.
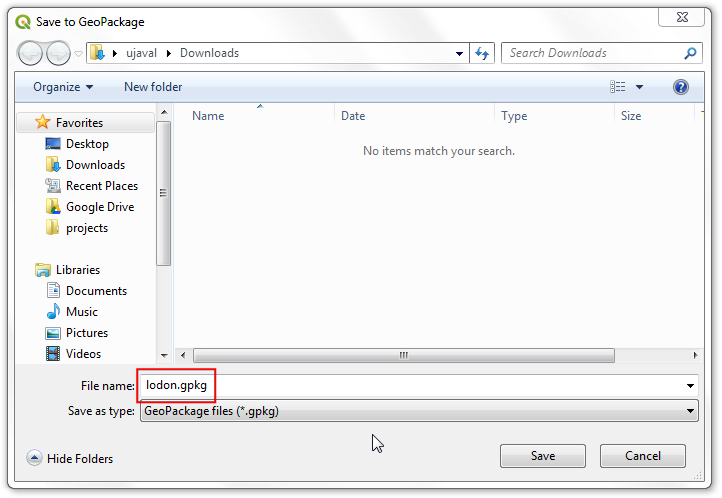
- Click ... button next to Merged and select Save to GeoPackage.
- Browse to the directory where you want to save the data and name the output
longon.gpkg.
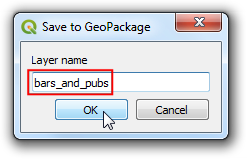
- Enter
bars_and_pubs as the Layer name.
- Click Run to execute the merge process.
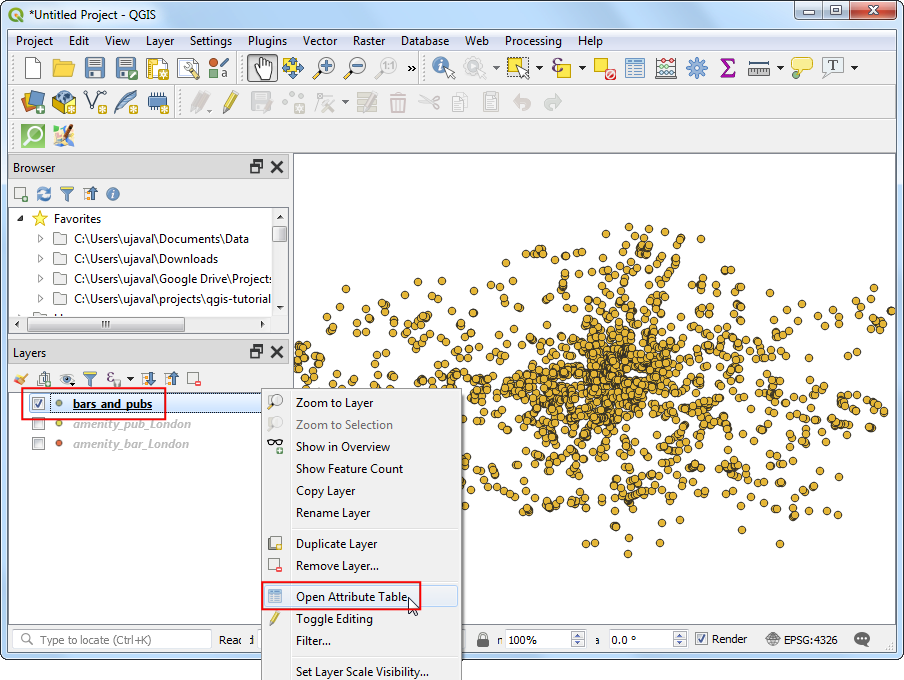
- Once the processing finishes, you will see a new layer
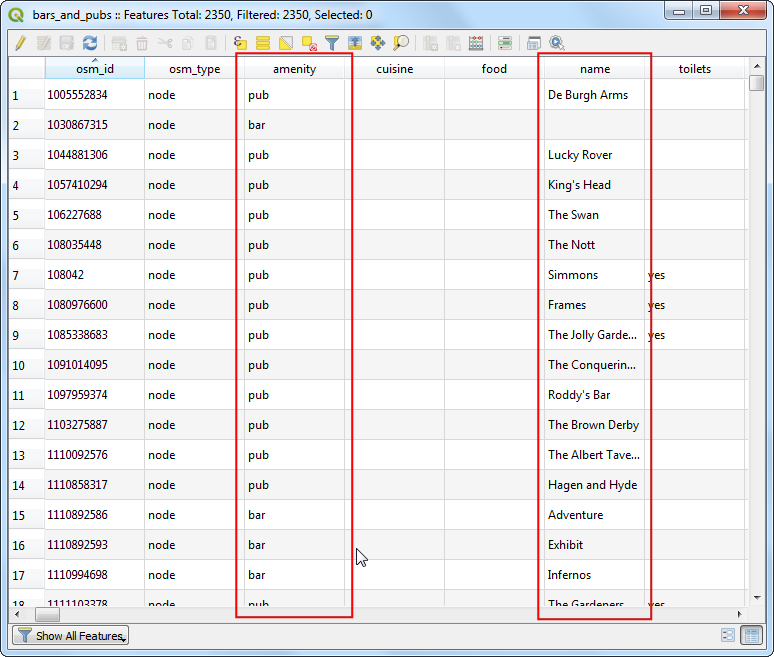
bars_and_pubs added in the Layers panel. You will see that this layer is the union of all features from both the previous layers. Right-click the bars_and_pubs layer and select Open Attribute Table.
- In the Attribute Table, you will see that the layer contains both pub and bar amenity types along with the names of these establishments and other attributes.
- We have achieved the objective of extracting the bars and pub locations in London. We had to perform 2 separate queries to get the relevant data and merge it. This is fine for our task, but you maybe in a situation where you need to perform a complex query to get the right set of data for your project. Fortunately, the QuickOSM plugin provides a way to write and execute custom queries. Let’s see how we can write a singel query for the task at hand. Switch to the QuickOSM window and click Show query.
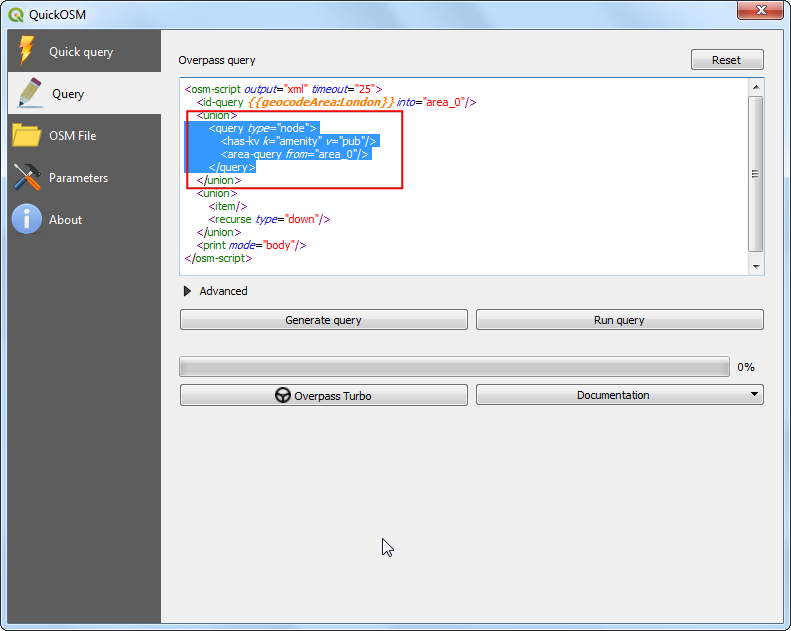
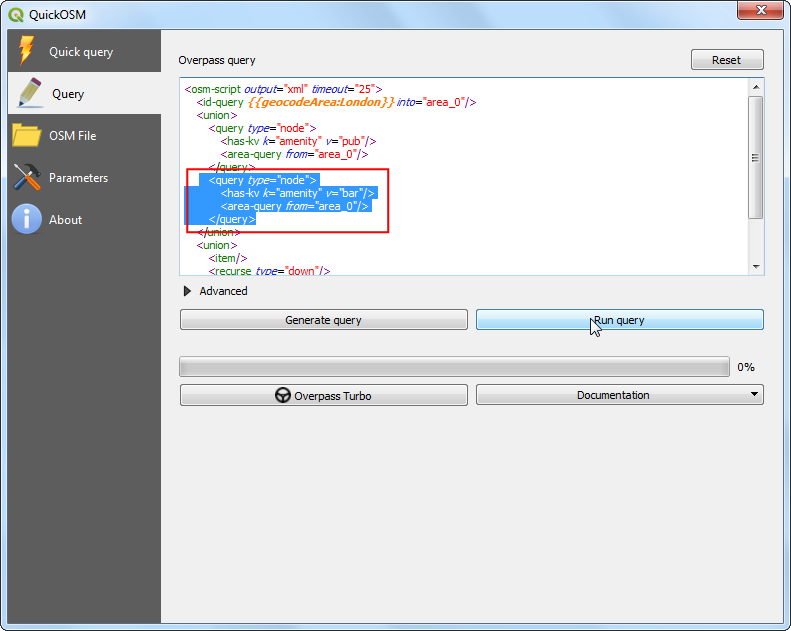
- The plugin will switch to the Query tab. The Overpass query section will show the query that was constructed based on the user input. This field is editable and one can enter any query. The format of the query is in the Overpass Query Language (QL). For our purpose, select the section between the <query> ... </query> XML tags and copy it.
- Paste it after the existing query section and change the value from
pub to bar. Below is the full query that will fetch values from both the tags in a single query. Click Run query.
<osm-script output="xml" timeout="25">
<id-query {{geocodeArea:London}} into="area_0"/>
<union>
    <query type="node">
        <has-kv k="amenity" v="pub"/>
        <area-query from="area_0"/>
    </query>
    <query type="node">
        <has-kv k="amenity" v="bar"/>
        <area-query from="area_0"/>
    </query>
</union>
<union>
    <item/>
    <recurse type="down"/>
</union>
<print mode="body"/>
</osm-script>
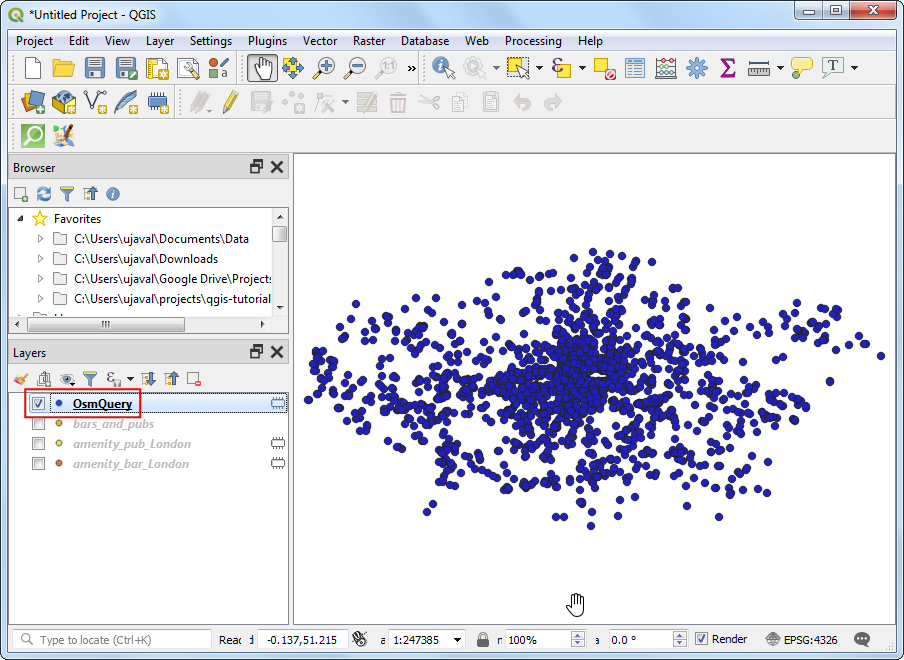
- Once the query finishes, you will see a new layer
OsmQuery added to the Layers panel. This layer contains points representing both bars and pubs in London.